This post is in continuation with previous post, you can find part 1 at
http://osb-dheeraj.blogspot.in/2016/02/integration-using-oracle-ics-source.html
Lets continue with steps :
Create Integration using Source and Target Connection, Create Mapping:
Navigate to Integrations Screen and Click on 'Create New Integration'
A Screen similar to below will be seen

Step 1 :
Select 'Map My Data'. Screen shown Below will appear. Provide Name of the Integration and Click Create.


Step 2 :
Now Drag and Drop connections from Right Side Pane to Source .A screen as below will be shown. Provide Name of your Source, Then Click Next

Step 3 :
Select Operation from Available Operations. Then Click Next. As Shown below

Step 4 :
Verify the Summary, and Click Done

Step : 5
A Screen as shown below will appear.

Step 6:
Repeat Step 2 to Step 4 for Target connection. A Screen as below will appear

Step 7:
Now Click on 'Create Map' A + button will appear. Click on it, as shown below

Step 8:
You will be naviagated to Mapper Screen. Create a Source to target Mapping by Drag and Drop.
As Shown below


Step 9 :
Click on Save, and Exit Mapper. Shown below

Step 10:
Repeat Step 8 and Step 9 for Response Mapping.
A screen as below will be shown
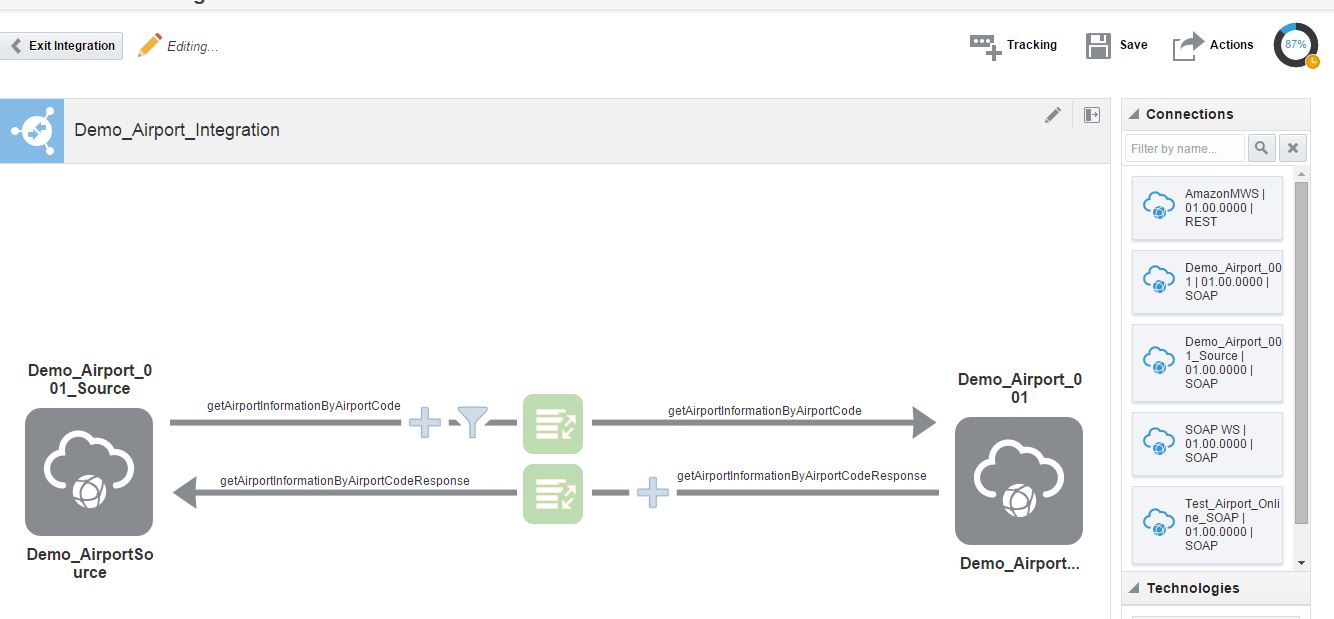
Step 11:
Now Click on Tracking to add any field for Audit and tracking purpose. Then click on Done.
Shown below

Step 12 :
Now Click on save and Exit Integration Editor.

Step 13:
Now Click on Activate to deploy your integration.

Step 14:
Select tracing checkbox to Enable Deep data tracing.

This is all, We have successfully created and Deployed our integration using Oracle ICS.

More Learnings on ICS
1. Oracle Integration Cloud Service (ICS)
http://osb-dheeraj.blogspot.in/2016/02/oracle-integration-cloud-service-ics.html
http://osb-dheeraj.blogspot.in/2016/02/oracle-integration-cloud-service-ics_10.html
http://osb-dheeraj.blogspot.in/2016/02/invoke-web-service-hosted-at-oracle.html


