Showing posts with label service bus 12c. Show all posts

Saturday 5 March 2016

OSB 12c - For Each action

Hey guys !

In this Post I am going through the For Each functionality in OSB 12c.


Use Case 

Simple Integration  Scenarios, Where Source system payload has Repeated Nodes, Target System expects one node at a time.


Design


Step 1 : 

Create a OSB Project, Add a Pipeline. Inside Pipeline Add a For Each Action.


Step 2:

Provide the required data in For Each Properties. Shown below


This is all we need to Implement For Each. 
However we will have to further process the Data, This could depend on your Requirement.
For the Demo Purpose, I am Sending this data to a Business Service using Publish Action.


Step 3:

Add a Publish Action inside For Each. Add a Assign action to see the Payload of the For Each iteration in Testing. Screens Below


Step 4:

Export and Deploy your code to Server.
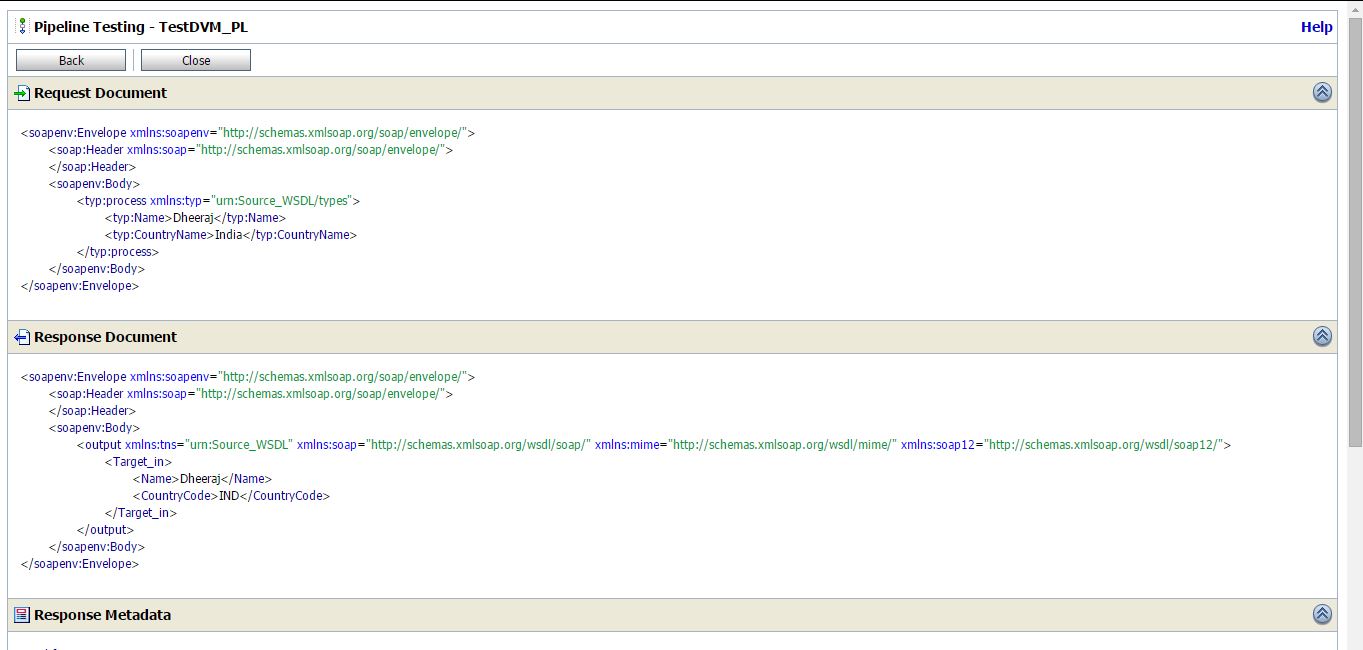


Testing


Request Payload

<?xml version="1.0" encoding="UTF-8"?>
<Envelope>
  <Message>
        <MessageID>1</MessageID>
        <OrderReport>
            <OrderID>102-4552-913811</OrderID>           
            <Item>
                <OrderItemCode>09588730573218</OrderItemCode>
                <SKU>05988-2066</SKU>                
             </Item>
        </OrderReport>
  </Message>
  <Message>
        <MessageID>2</MessageID>
        <OrderReport>
            <OrderID>102-4556812-97811</OrderID>           
            <Item>
                <OrderItemCode>09588730573218</OrderItemCode>
                <SKU>05988-20166</SKU>                
             </Item>
        </OrderReport>
  </Message>
  <Message>
        <MessageID>3</MessageID>
        <OrderReport>
            <OrderID>102-4556812-91371</OrderID>           
            <Item>
                <OrderItemCode>09588730573218</OrderItemCode>
                <SKU>05988-266</SKU>                
             </Item>
        </OrderReport>
  </Message>
</Envelope>


For Each output for Last Iteration

<Message>
<MessageID>3</MessageID>
<OrderReport>
<OrderID>102-4556812-91371</OrderID>
<Item>
<OrderItemCode>09588730573218</OrderItemCode>
<SKU>05988-266</SKU>
</Item>
</OrderReport>
</Message>


Thats All Folks !


Here are some other posts, which may interests you

1. Fusion Middleware 12c – SAP Adapter Configuration

http://osb-dheeraj.blogspot.in/2016/02/fusion-middleware-12c-sap-adapter.html

2. Oracle Integration Cloud Service (ICS)

http://osb-dheeraj.blogspot.in/2016/02/oracle-integration-cloud-service-ics.html


3. SOA Interview Questions : Service Oriented Architecture Interview Questions Part 1

http://osb-dheeraj.blogspot.in/2016/02/soa-interview-questions-service.html


http://osb-dheeraj.blogspot.in/2016/02/osb-12c-domain-value-map-dvm.html

Saturday 27 February 2016

OSB 12c - Domain Value map (DVM)


Hey guys !

Here I am going through the Domain Value map (DVM) functionality in OSB 12c.
In the 12c versions of OSB, Support for the DVM is included, Hence lets discuss the use case and Steps to implement DVM.

Use Case 

Simple Integration  Scenarios, Where Source system, Which sends data to Target System needs domain conversion of values.

A very typical example is Country name to Country Code conversion using DVM, i.e. Source system sends Country name and Target system expects Country code.

Design


Step 1 :

Open Jdevloper 12c (Service Bus console can also be used), Create a Service Bus Project.
I have given name to project as 'SBProject_DVM'

Step 2:

Create Source and target Schemas or WSDL (This is not a essential Step). For better demonstration, I Have used WSDL.


Step 3:

Create a Domain value map (CountryName_Code.dvm) and Add the Domain Name and Values. Atleast 2 rows needs be added.


Step 4:

Create a XSLT mapper (CountryNameToCode.xsl), Choose Source and Target to this mapper from your WSDL.


Step 5 :

User mapper to drag and Drop mapping element, Shown below


Step 6:

Go to XSLT source view and Edit the code as below 


Add this snippet 

<CountryCode>          
            <xsl:value-of select="DVMFunctions:lookupValue (&quot;SBProject_DVM/CountryName_Code&quot;, &quot;Name&quot;, string(/ns0:process/ns0:CountryName), &quot;Code&quot;, &quot;Unknown&quot; )"/>
 </CountryCode>


Now if you go to Design view, the below design will be visible


Step 7:

Create a new Pipeline Based on your WSDL and go to design view.
Add Pipeline pair to it, 
Inside Request Pipeline add a Stage. Inside stage add a 'Replace' action.
Inside Response Pipeline add a Reply action with Success.


Step 8:

Lets go to Replace action and use the Earlier created XSLT mapper to do the DVM  task.


In the input Field add the Variable which contains input element, as below


Step 9:

Save your changes and Export is to deploy to Test Server or Deploy directly from Jdeveloper.


Testing 

Step 1:

Open the Pipeline, click on test button, this will open in new window


Step 2:

Edit the request payload and click on Execute button to test it.


Voila !
You have successfully created DVM using OSB 12c


You can download the sbconfig jar of this project from
https://drive.google.com/file/d/0BxHj0h0tnxxOWWVYVXVvTGtWUGs/view?usp=sharing


Here are some other posts, which may interests you

1. Fusion Middleware 12c – SAP Adapter Configuration

http://osb-dheeraj.blogspot.in/2016/02/fusion-middleware-12c-sap-adapter.html

2. Oracle Integration Cloud Service (ICS)

http://osb-dheeraj.blogspot.in/2016/02/oracle-integration-cloud-service-ics.html


3. SOA Interview Questions : Service Oriented Architecture Interview Questions Part 1

http://osb-dheeraj.blogspot.in/2016/02/soa-interview-questions-service.html

Wednesday 17 February 2016

Oracle SOA Suite 12c - OSB Domain Configuration part 2

This post is in continuation with previous post, you can find part 1 at :

http://osb-dheeraj.blogspot.in/2016/02/oracle-soa-suite-12c-osb-domain.html


Lets continue with domain creation steps


Step 10:
The Wizard will test each connection, if you have given correct information, then all connection will show success as below, Then Click Next


Step 11:
Click Next on the Screen,


Step 12:
On this screen select the elements, which you want to configure for your domain. For example select Admin server and Manage Server then click on Next, as shown


Step 13:
Provide Server port Number, Host Address, and SSL port, You can keep the default setting as well. Then Click Next


Step 14:
For Managed Server, Provide Name, Port, SSL Port, or keep the default settings.


Step 15:
Since we have only one Managed server, hence we do not need cluster, Click Next


Step 16:
Click next for Coherence and Coherence Cluster Screen. Click on + button to add Machine, Provide details of your machine


Step 17:
Then look the Summary of your configuration and Click Create


Step 18:
It will take some time to create the domain. The last will be the confirmation screen.


Voila ! you have successfully created your OSB 12c Domain.


In case you want to go through the steps for SOA domain, refer my previouspost here:

Oracle SOA Suite 12c - SOA Domain Configuration

http://osb-dheeraj.blogspot.in/2016/02/oracle-soa-suite-12c-soa-domain.html


Oracle SOA Suite 12c - SOA Domain Configuration part 2

This post is in continuation with my previous post, about SOA domain creation. You can find part 1 at 


http://osb-dheeraj.blogspot.in/2016/02/oracle-soa-suite-12c-soa-domain.html


Lets Continue with the steps of domain creation:


Step 9:
Fill the DB Schema details for each of the Datasource by selecting each one by one
Once all filled, Click on Next button


Step 10:
The Wizard will test each connection, if you have given correct information, then all connection will show success as below, Then Click Next


Step 11:
Click Next on the Screen,


Step 12:
On this screen select the elements, which you want to configure for your domain. For example select Admin server and Manage Server then click on Next, as shown


Step 13:
Provide Server port Number, Host Address, and SSL port, You can keep the default setting as well. Then Click Next


Step 14:
For Managed Server, Provide Name, Port, SSL Port, or keep the default settings.


Step 15:
Since we have only one Managed server, hence we do not need cluster, Click Next


Step 16:
Click next for Coherence and Coherence Cluster Screen. Click on + button to add Machine, Provide details of your machine


Step 17:
Then look the Summary of your configuration and Click Create


Step 18:
It will take some time to create the domain. The last will be the confirmation screen.


Voila, you have successfully created your SOA Domain.


In case you want to configure OSB Doamin, refer my previous post:

Oracle SOA Suite 12c - OSB Domain Configuration

http://osb-dheeraj.blogspot.in/2016/02/oracle-soa-suite-12c-osb-domain.html


Oracle SOA Suite 12c - OSB Domain Configuration part 2

This post is in continuation with previous post, you can find part 1 at :

http://osb-dheeraj.blogspot.com/2016/02/oracle-soa-suite-12c-osb-domain.html


Lets continue with domain creation steps


Step 10:
The Wizard will test each connection, if you have given correct information, then all connection will show success as below, Then Click Next


Step 11:
Click Next on the Screen,


Step 12:
On this screen select the elements, which you want to configure for your domain. For example select Admin server and Manage Server then click on Next, as shown


Step 13:
Provide Server port Number, Host Address, and SSL port, You can keep the default setting as well. Then Click Next


Step 14:
For Managed Server, Provide Name, Port, SSL Port, or keep the default settings.


Step 15:
Since we have only one Managed server, hence we do not need cluster, Click Next


Step 16:
Click next for Coherence and Coherence Cluster Screen. Click on + button to add Machine, Provide details of your machine


Step 17:
Then look the Summary of your configuration and Click Create


Step 18:
It will take some time to create the domain. The last will be the confirmation screen.


Voila ! you have successfully created your OSB 12c Domain.


In case you want to go through the steps for SOA domain, refer my previouspost here:

Oracle SOA Suite 12c - SOA Domain Configuration

http://osb-dheeraj.blogspot.com/2016/02/oracle-soa-suite-12c-soa-domain.html